Hello my dears!
Bem vindos a mais uma receita da cozinha da Vê. Hoje vou fazer para vocês uma sobremesa que amei desde o primeiro dia em que a provei.
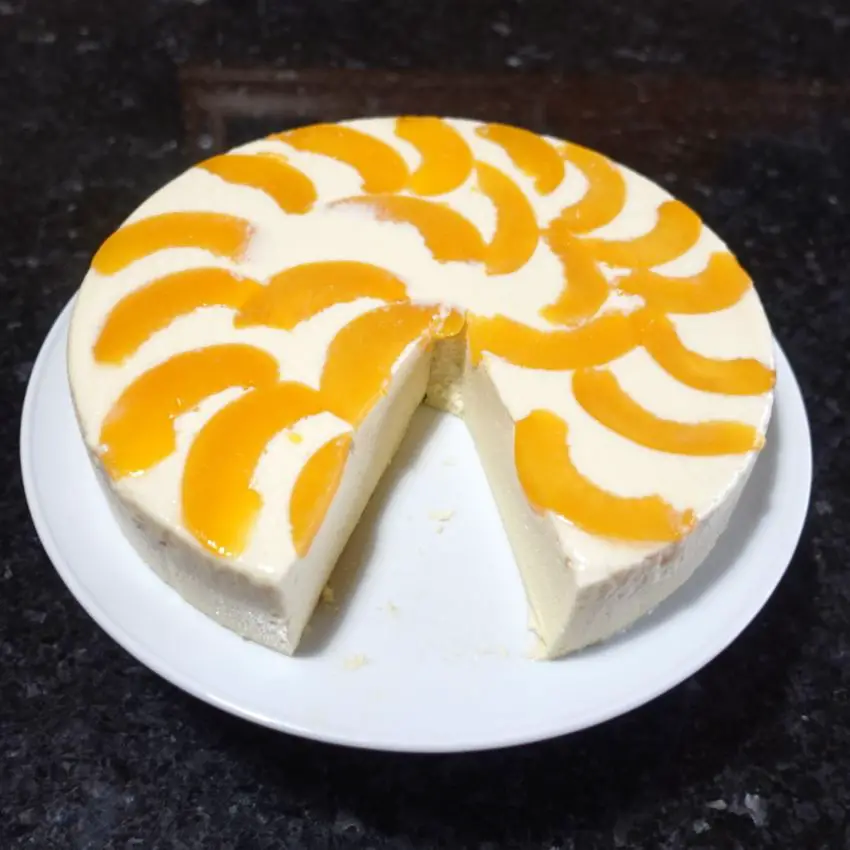
É o bolo de côco gelado cremoso simples e rápido de fazer. Mas a melhor parte, é que é uma daquelas sobremesas feita numa travessa e dá para muitas fatias mesmo.
Serve para uma festa com muitas pessoas ou mesmo um domingão de família.
E se você está vendendo doces para fora ou tem uma loja, este é um daqueles que rápidamente será favorito de muitos dos seus clientes.
Let's go?

Preparação do Bolo de Côco Gelado simples de fazer.
O bolo de côco gelado é bem fácil e rápido de fazer, normalmente demora 1h a confeccionar e depois tem que ir para a geladeira algumas horas antes de servir.
É importante saber que este bolo é preparado em duas partes diferentes, sendo:
- cake dough
- Topping
Vamos ver já a seguir.
Preparação da Massa do Bolo de Côco Gelado
In first place, pré-aqueça o forno a 160º graus.
Second, utilizando a batedeira ou caso não tenha, poderá utilizar um recipiente para bater as claras em neve.

Third, adicione açúcar e bata por mais 3 minutos ou um pouco mais se estiver a bater manualmente.

Fourth, adicione as gemas, a farinha de trigo, o suco e continue batendo até formar uma massa homogênea.

Fifth, finally add the yeast and beat for another 40 seconds on the lowest speed of the mixer or if you do it manually beat slowly for 2 to 3 minutes.

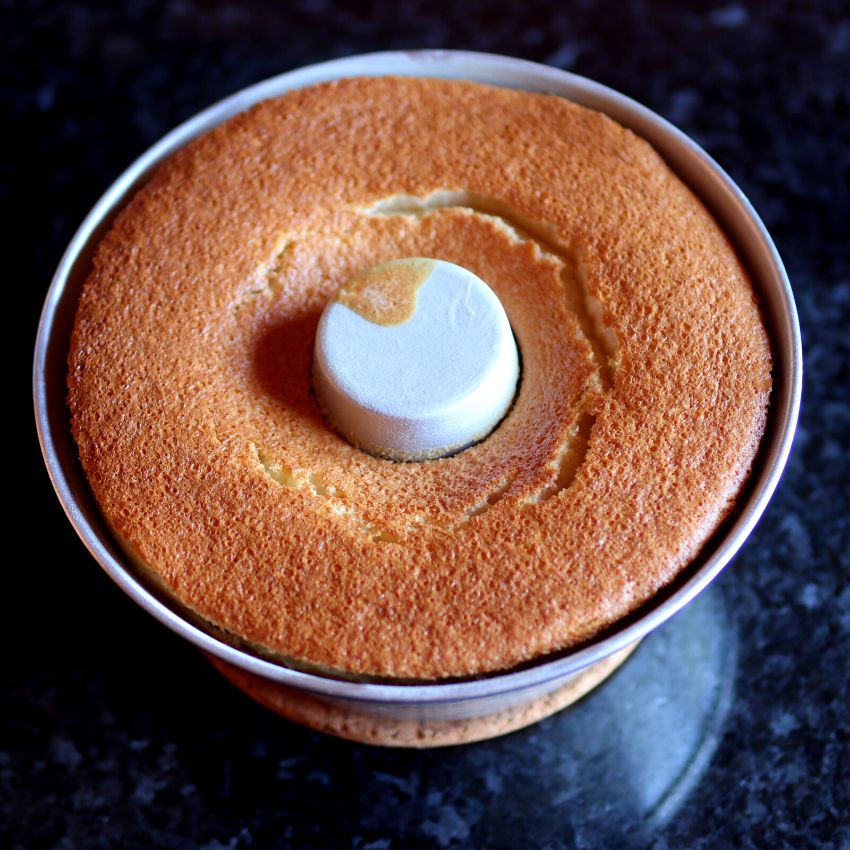
Sixth, em seguida despeje a massa numa forma untada e ponha para assar no forno a 160º graus durante aproximadamente 40 minutos ou até dourar.

Confira esta receita em formato de vídeo, com todas as instruções passo a passo.
Preparação da Cobertura do Bolo de Côco Gelado cremoso
First step, numa tigela misture bem o leite, o leite de côco e o leite condensado, a seguir reserve.

Second, when the cake is baked, remove from the oven and pierce the entire surface with a fork, so that the icing penetrates well inside the cake.

Third, com o bolo ainda quente e já furado, despeje a cobertura sobre ele.

Fourth, a seguir salpique o bolo com côco ralado desidratado.

Fifth, agora leve o bolo à geladeira durante 3 a 4 horas para ficar bem geladinho.
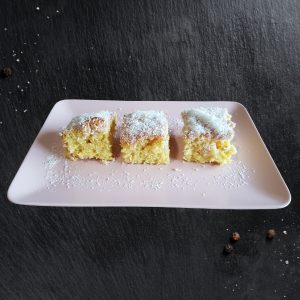
Sixth, remove the cake from the fridge and cut into squares the size you prefer. The following can serve.
note: Após servir conserve o bolo na geladeira coberto com papel alumínio.

Creamy Coconut Cake
Ingredients
Cake Dough
- 4 eggs
- 3 cups (tea) of wheat flour w/ yeast
- 2 cups (tea) of sugar
- 250 ml of orange juice
- 1 tbsp of baking powder
Topping
- 200 ml of coconut milk
- 200 ml of milk
- 1 can of sweetened condensed milk
- 1 desiccated desiccated coconut
Step-by-step instructions
dough preparation
- Preheat the oven to 160ºC
- Whip the egg whites.
- Add the sugar and beat for another 3 minutes.
- Add the yolks, wheat, juice and continue beating until a homogeneous mass is formed.
- Finally, put the yeast, beat for another 40 seconds on the lowest speed of the mixer.
- Pour the dough into a greased medium shape.
- Bake in a preheated oven at 160ºC for approximately 40 minutes or until golden.
Coverage Preparation
- Mix the coconut milk, milk and condensed milk well in a bowl. Reserve.
- Once the cake is baked, remove it from the oven and pierce the entire surface with a fork or knife, so the icing will penetrate well.
- With the cake still hot and already pierced, pour the frosting over it.
- Sprinkle the desiccated coconut on top.
- Place in the fridge for approximately 3 to 4 hours.
- Cut the cake into squares of the size you prefer.
- Store in the fridge for 3 to 4 hours
video recipe
Nutrition
Note: This information is provided as a courtesy and is an estimate only. This information comes from online calculators. Although Cozinhadave.com tries to provide accurate nutritional information, these figures are only estimates.
If you try this recipe, leave a comment below, letting me know how you like it!
And if you make any changes, I'd love to hear about that too. We can all benefit from your experience!
Verônica Ribeiro, the creative mind behind “Cozinha da Vê”, is passionate about flavors and aromas and transforms her passion for cooking into irresistible recipes. With a unique ability to combine ingredients and a special touch of affection in each dish, she conquers hearts and palates, making cooking a truly delicious experience on her blog.